Appearance
Contlify Web Application User Manual
Last Updated: January 2026 URL: https://app.contlify.com/
1. Introduction
This manual provides step-by-step guidance for using Contlify (https://app.contlify.com/) based on the provided screenshots. It covers organization setup, brand setup, blog generation, drafts/publishing, metadata setup (categories/tags/authors), integrations, scheduling, and publishing.
2. System Requirements
- Browser: Chrome/Edge/Firefox/Safari (latest versions recommended).
- Stable internet connection.
- JavaScript and cookies enabled.
- Recommended screen resolution: 1366×768 or higher.
3. Getting Started
- Open https://app.contlify.com/ in your browser.
- Sign in using your account credentials.
- Follow the steps in Appendix A to complete setup and start generating/publishing content.
4. Module Overview
- Organization: Workspace details and initial setup.
- Brand: Brand profile used for generating and styling content.
- Blog Generation: Create blog drafts using prompts and suggestions.
- Draft Blogs: Review and edit drafts before publishing.
- Presets: Save reusable generation settings.
- Published Blogs: View content that has already been published.
- Categories / Tags / Authors: Manage content metadata.
- Integrations: Connect external platforms/services.
- Scheduling: Schedule posts for automatic publishing.
Appendix A: Step-by-Step Screenshot Guide
Step 1: Organization setup
Summary: Create or select your organization workspace to start using Contlify.
Steps:
- Open the Organization screen.
- Enter/select your organization details (as shown).
- Click Continue/Save to proceed.
Expected result: Organization workspace is saved and you proceed to next step.
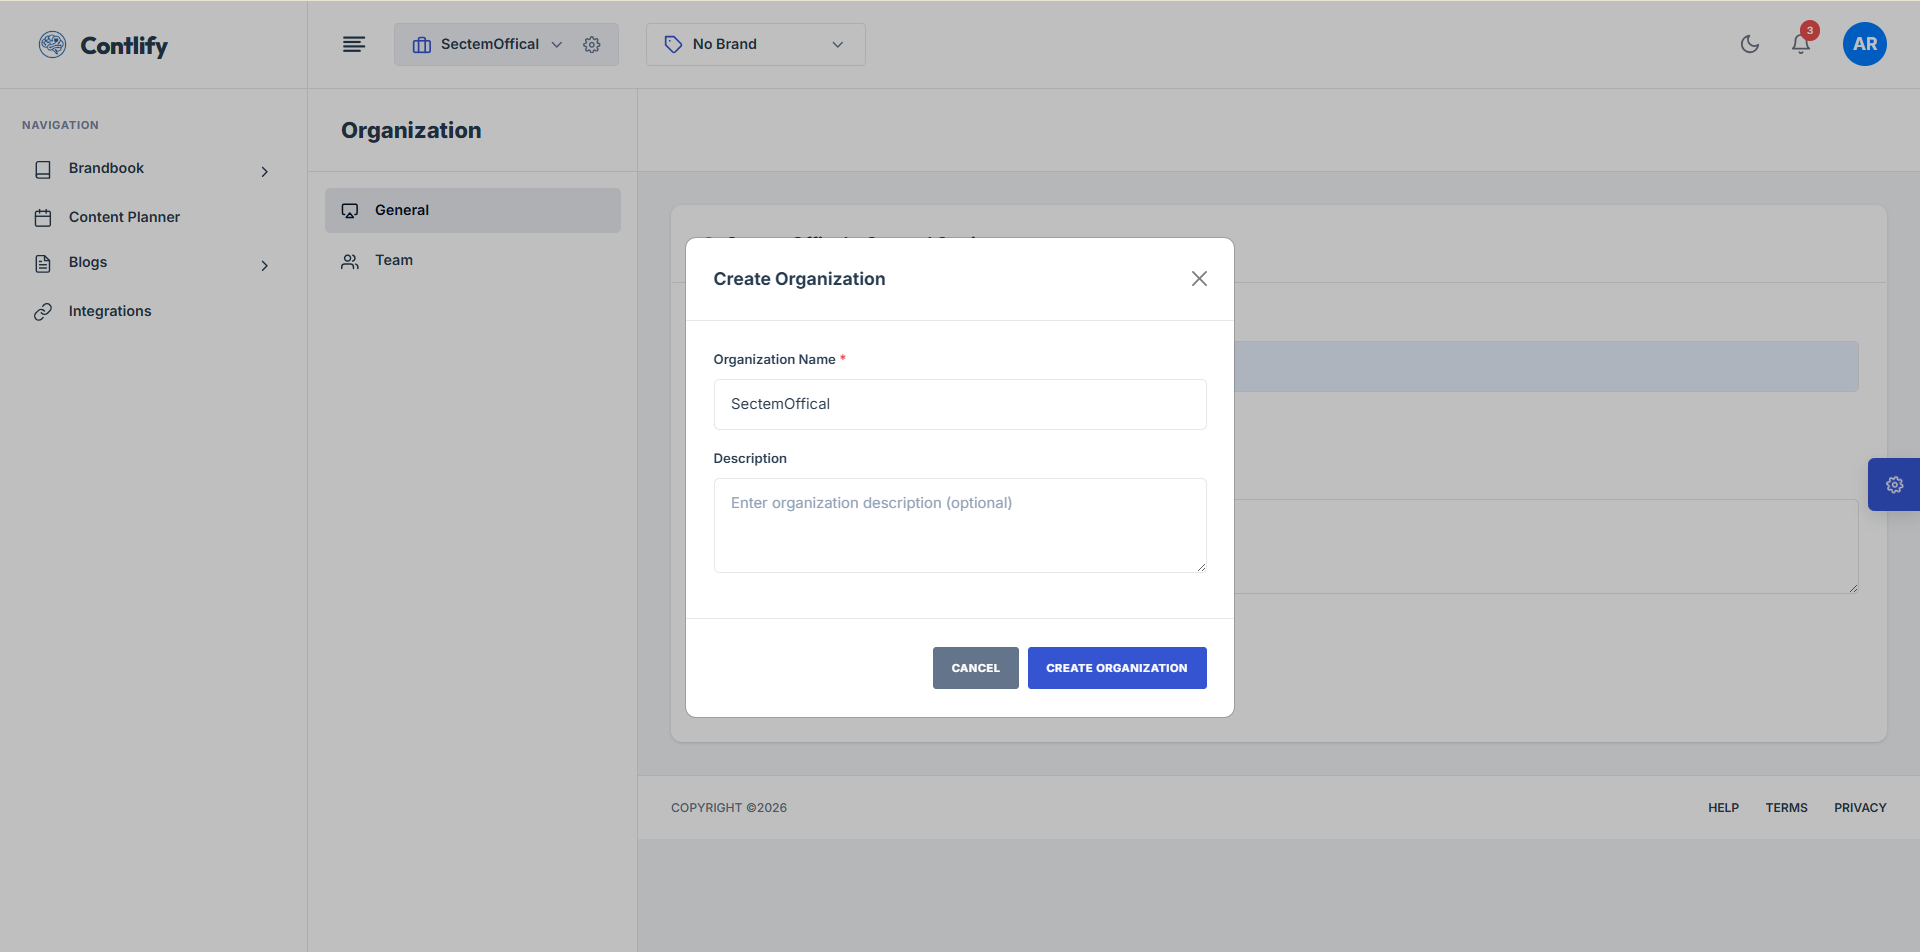
Step 2: Brand setup
Summary: Add your brand identity so generated content matches your tone and style.
Steps:
- Open the Brand section.
- Fill brand details (name, website, Instagram, Facebook, etc.).
- Click Save.
Expected result: Brand information is saved and ready for generation.
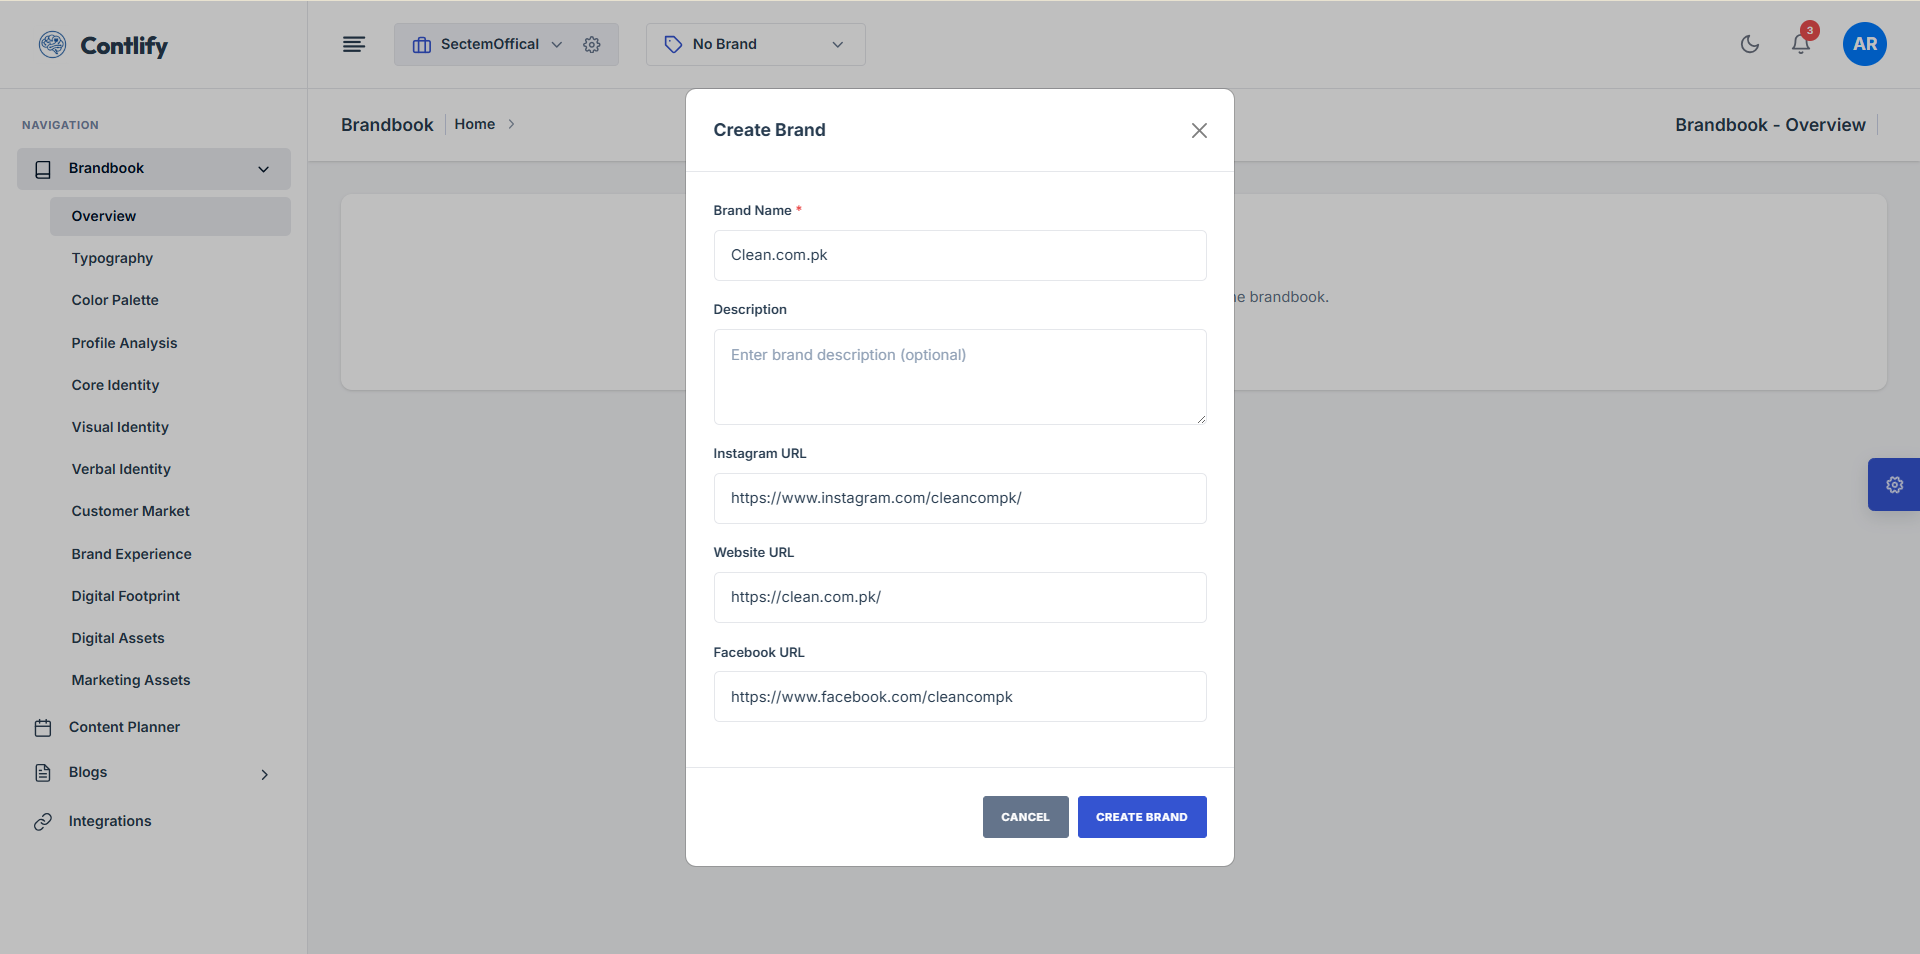
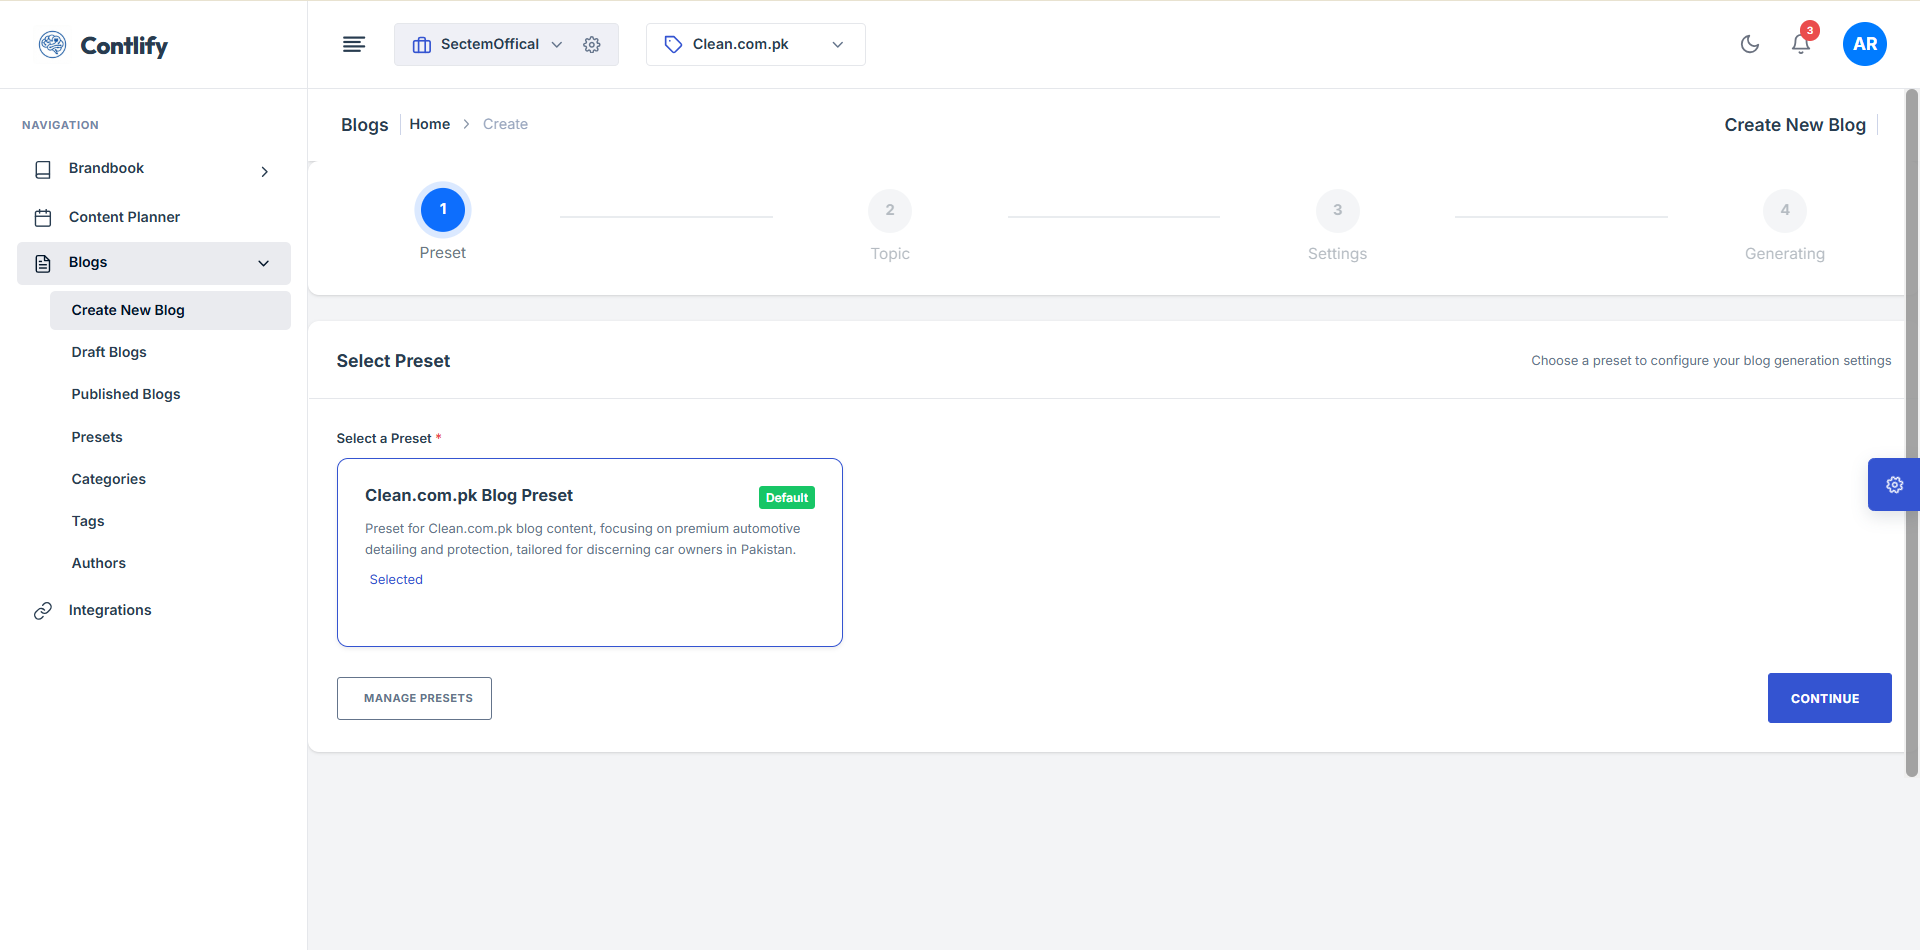
Step 3: Blog generation start
Summary: Start generating a blog by providing topic and basic inputs.
Steps:
- Open Blog Generation.
- Adjust Presets for number of Images, Words, and other adjustments.
- Click Generate to continue.
Expected result: Generation process starts for the provided topic.
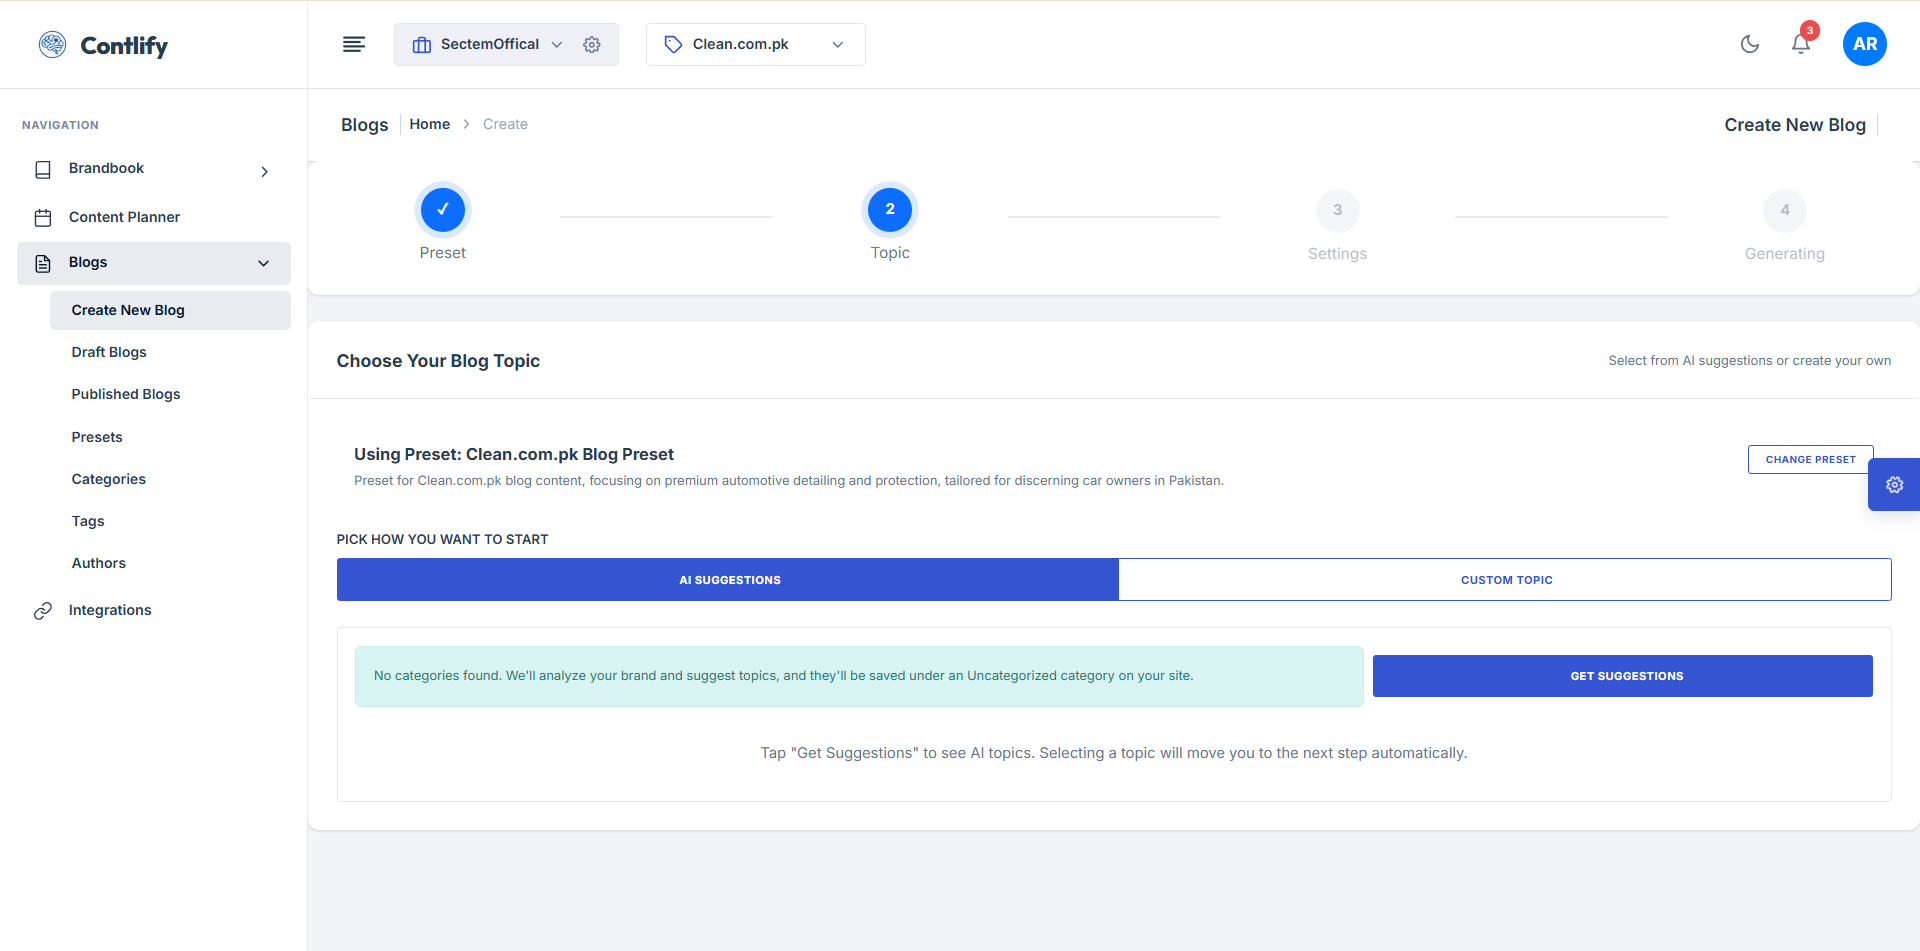
Step 4: Blog generation inputs
Summary: Refine blog generation using additional options shown on screen.
Steps:
- Click Get Suggestions for suggestions.
- For Custom topic: Add Yours.
- Expected result: Your refinements are applied to the generation request.
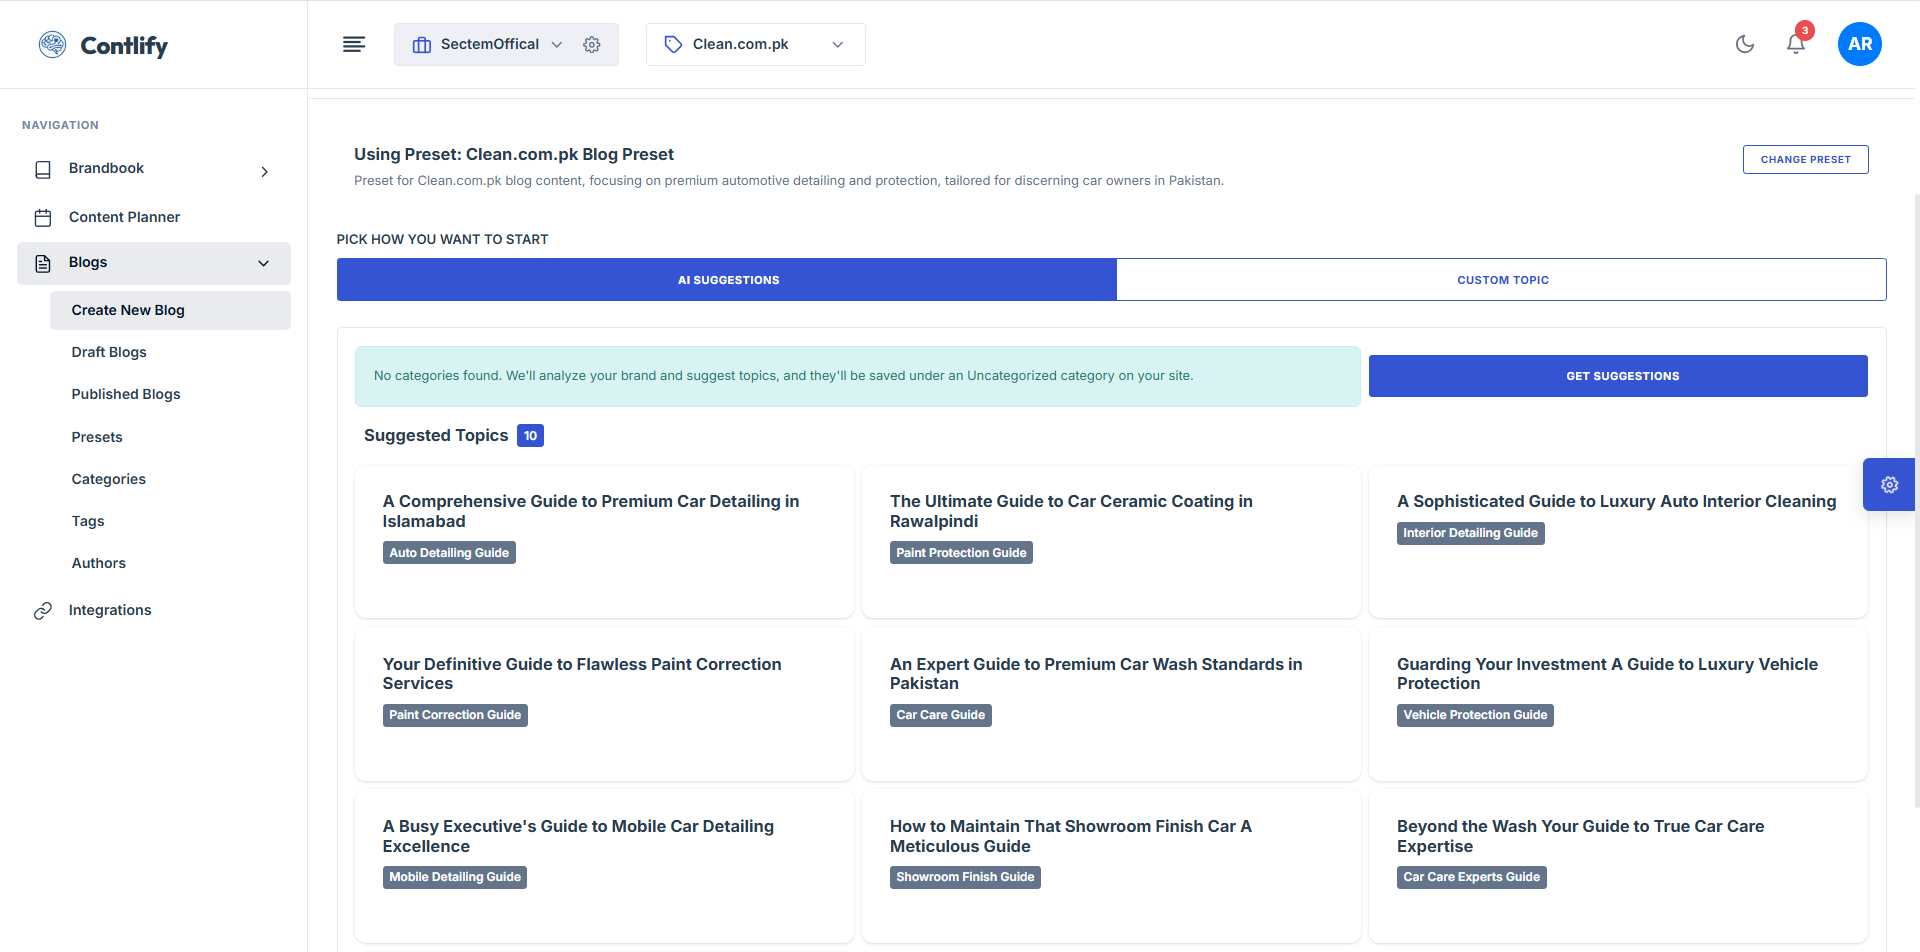
Step 5: Suggestions selection
Summary: Review suggestions and choose a direction for your blog post.
Steps:
- Review suggested titles/angles.
- Select the suggestion you prefer.
- Click Continue/Generate to confirm.
Expected result: Selected suggestion is used for generating the draft.
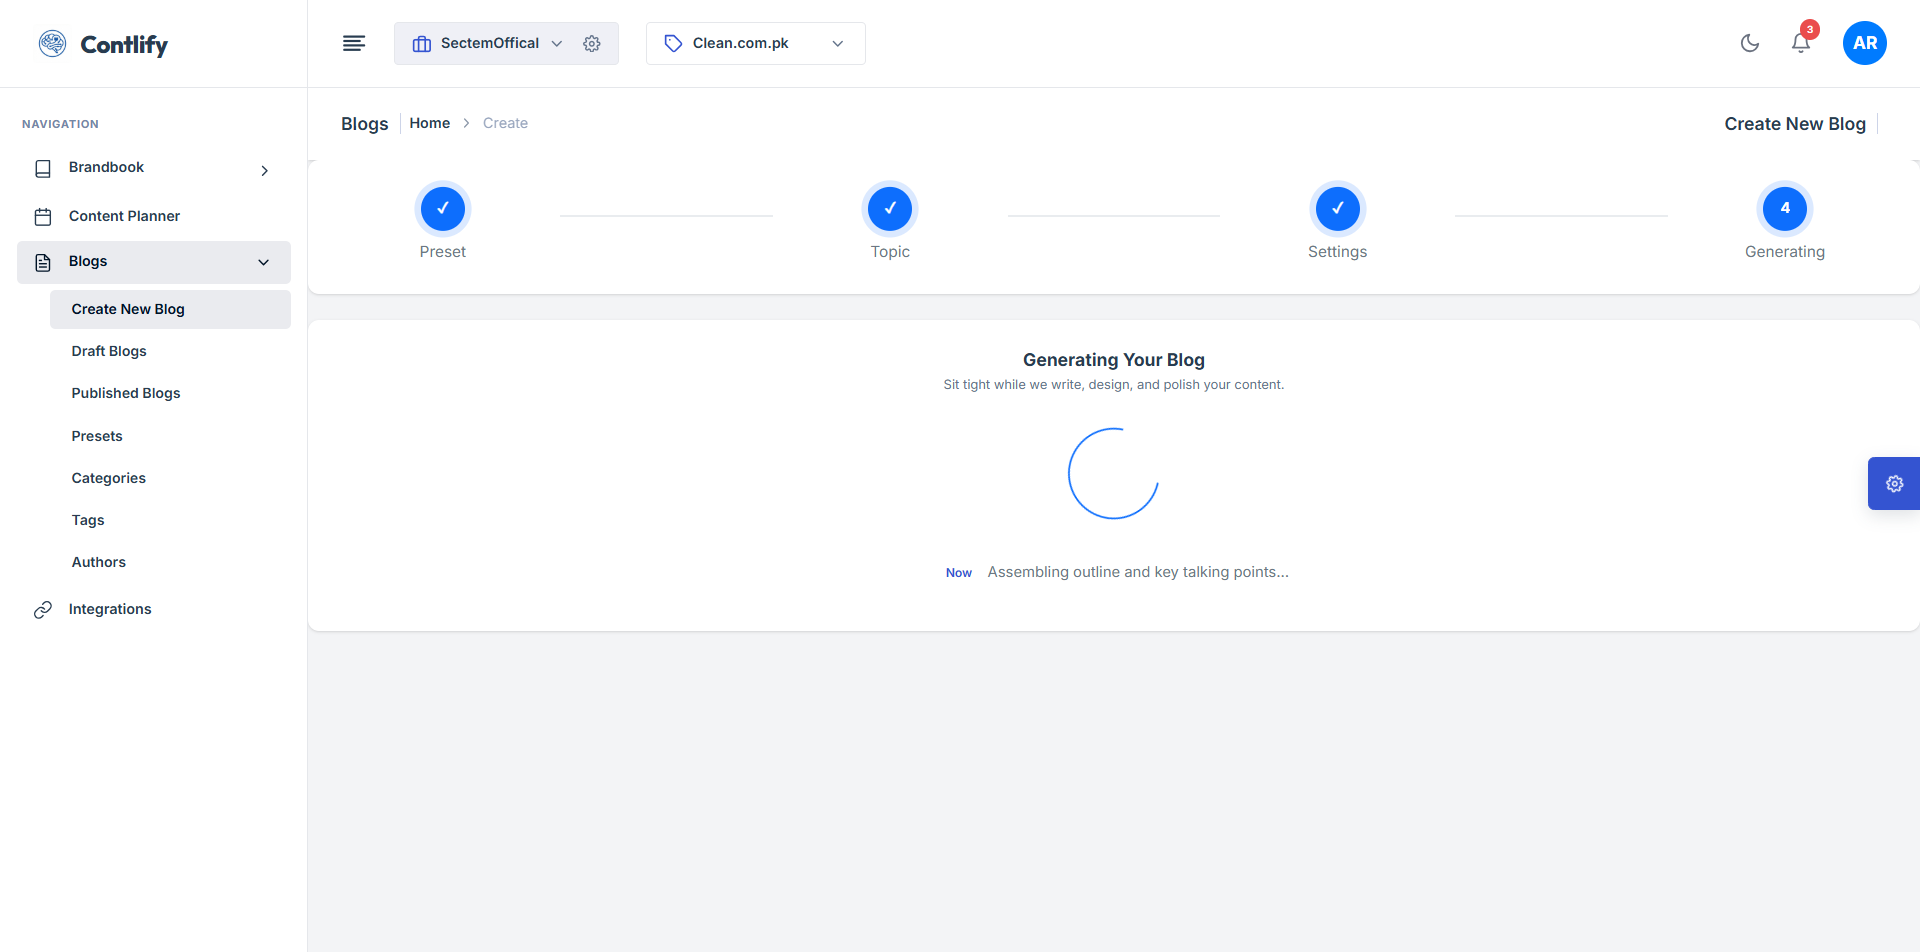
Step 5A: Generation progress
Summary: Monitor generation progress until the draft is completed.
Steps:
- Wait for generation to finish.
- Avoid refreshing unless required.
- Open the result when it appears.
Expected result: Completed draft is available.
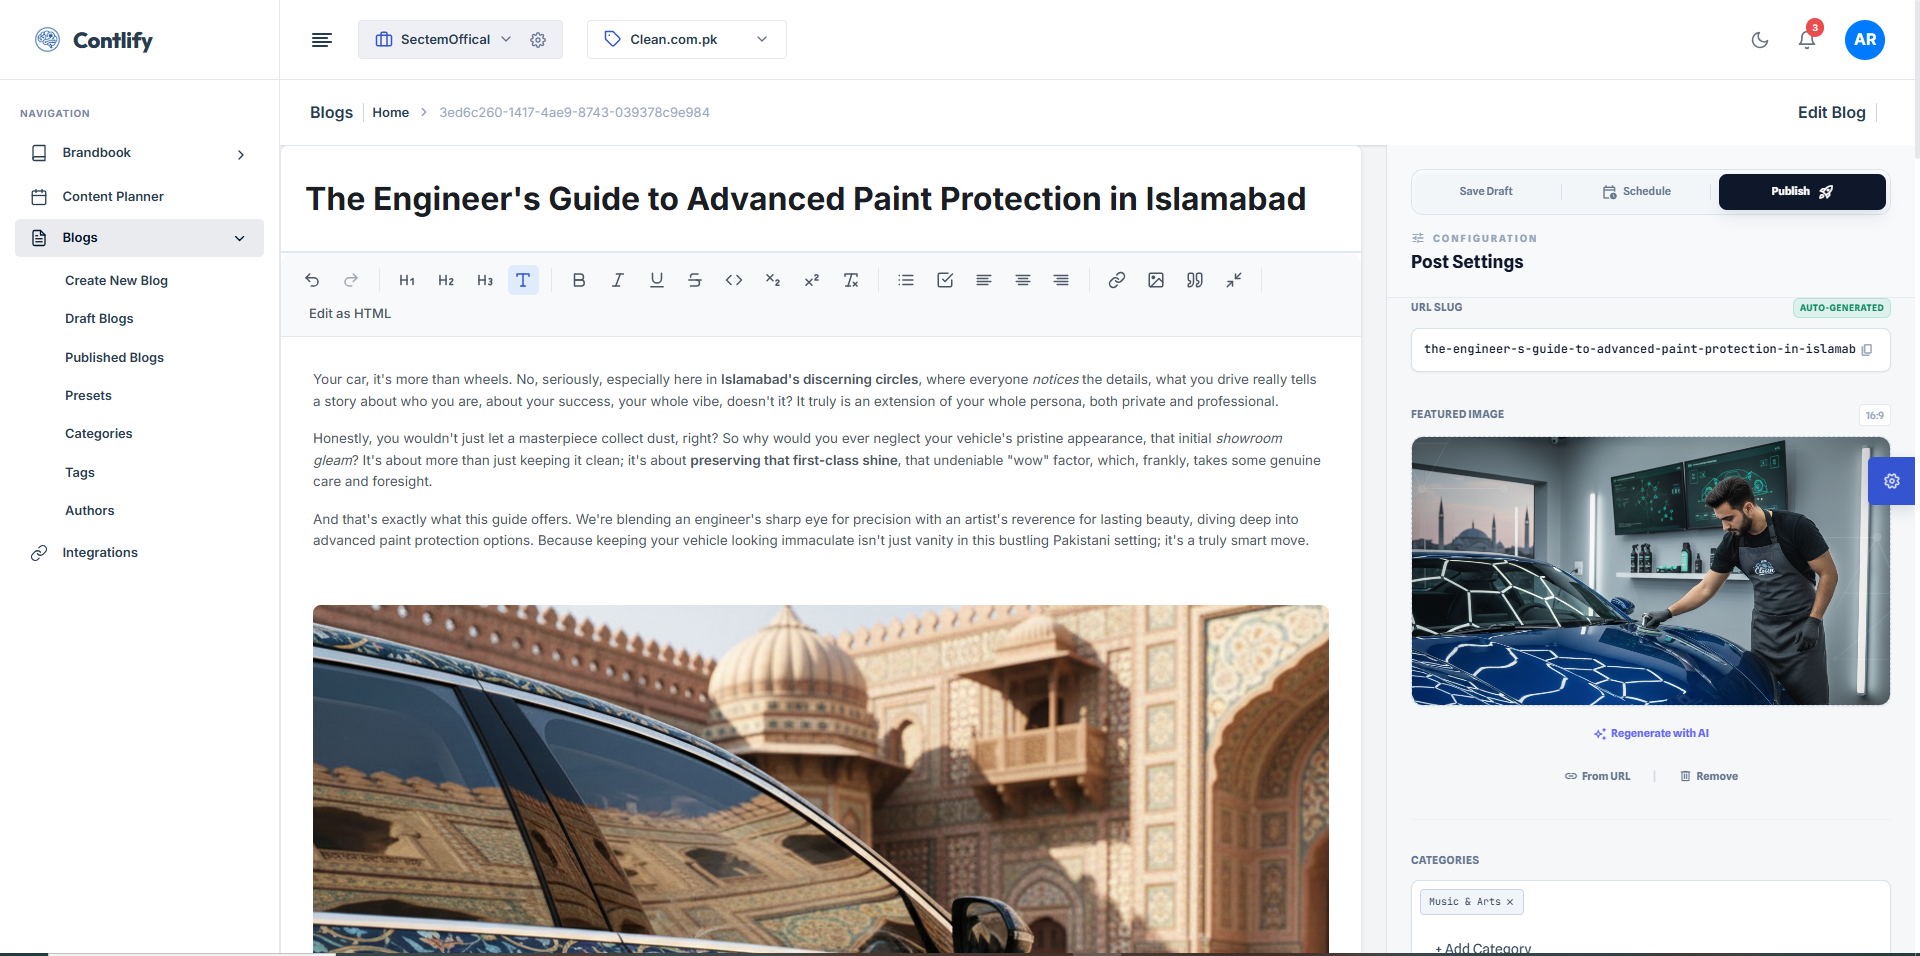
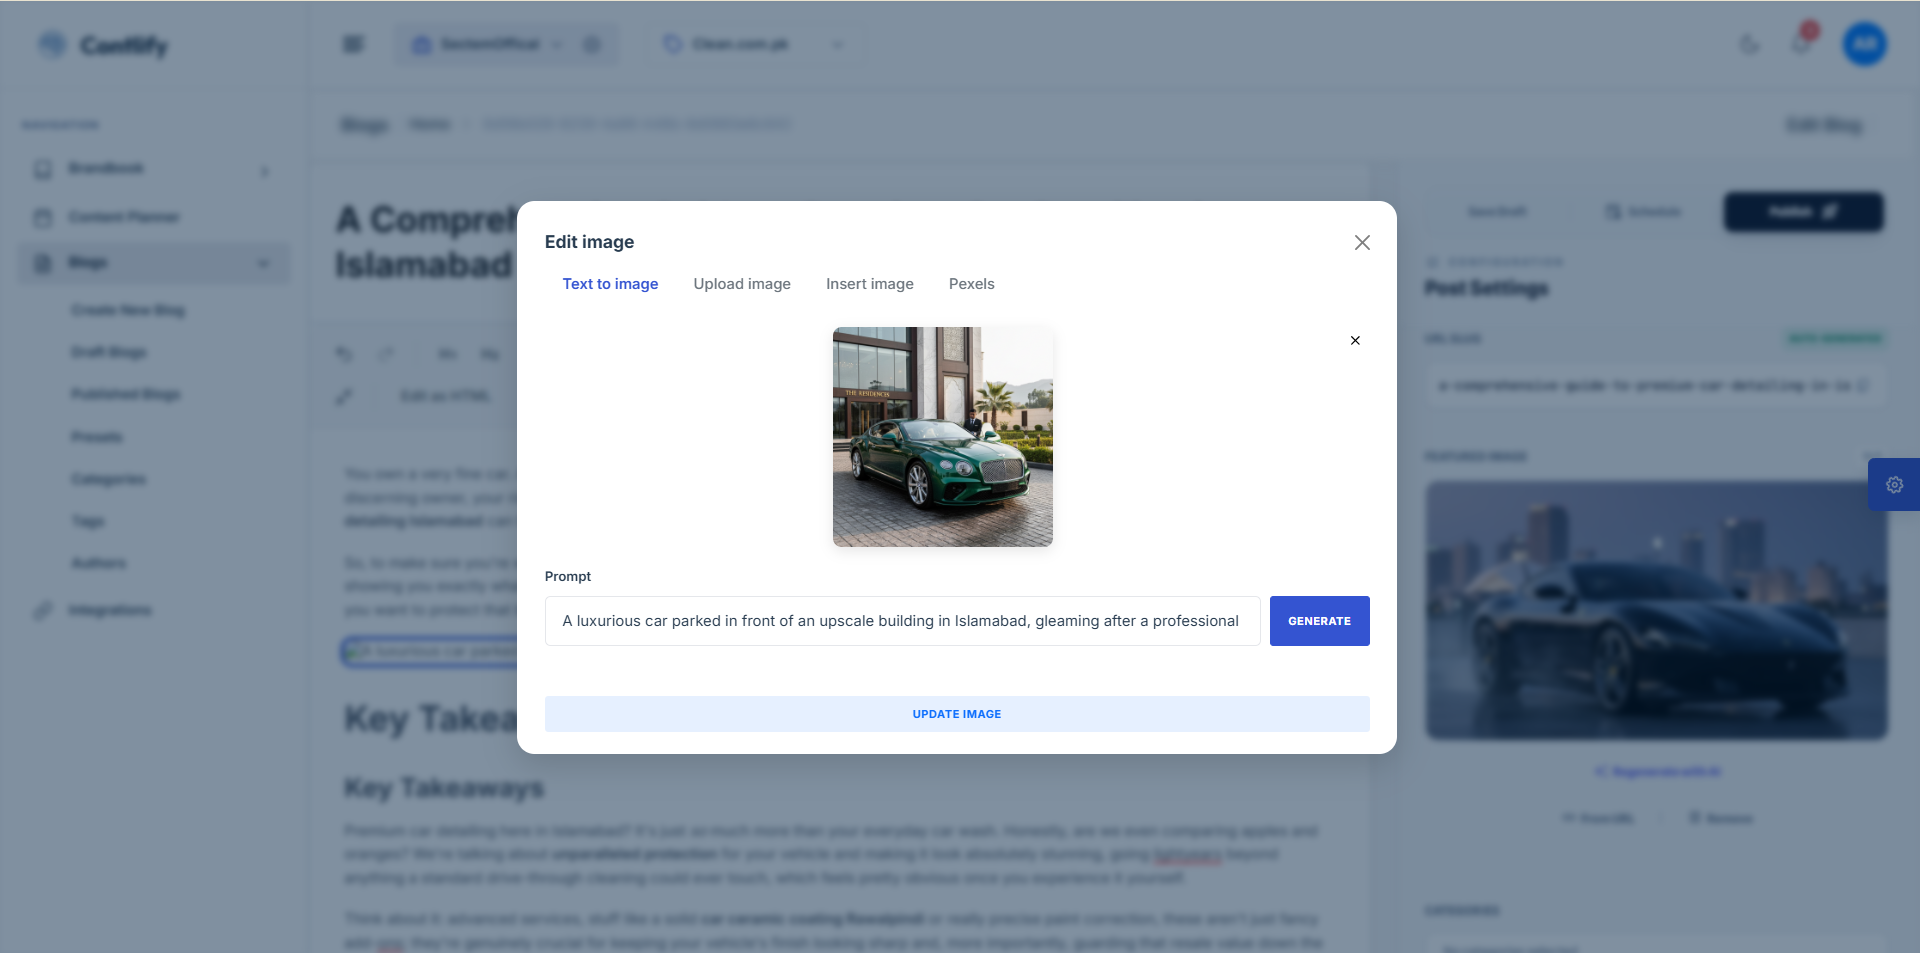
Step 5B: Edit blog image
Summary: Edit or adjust the blog image before finalizing the post.
Steps:
- Open the image editor.
- Apply edits available (replace/etc.).
- Click Save/Apply.
Expected result: Image updates are saved to the post.
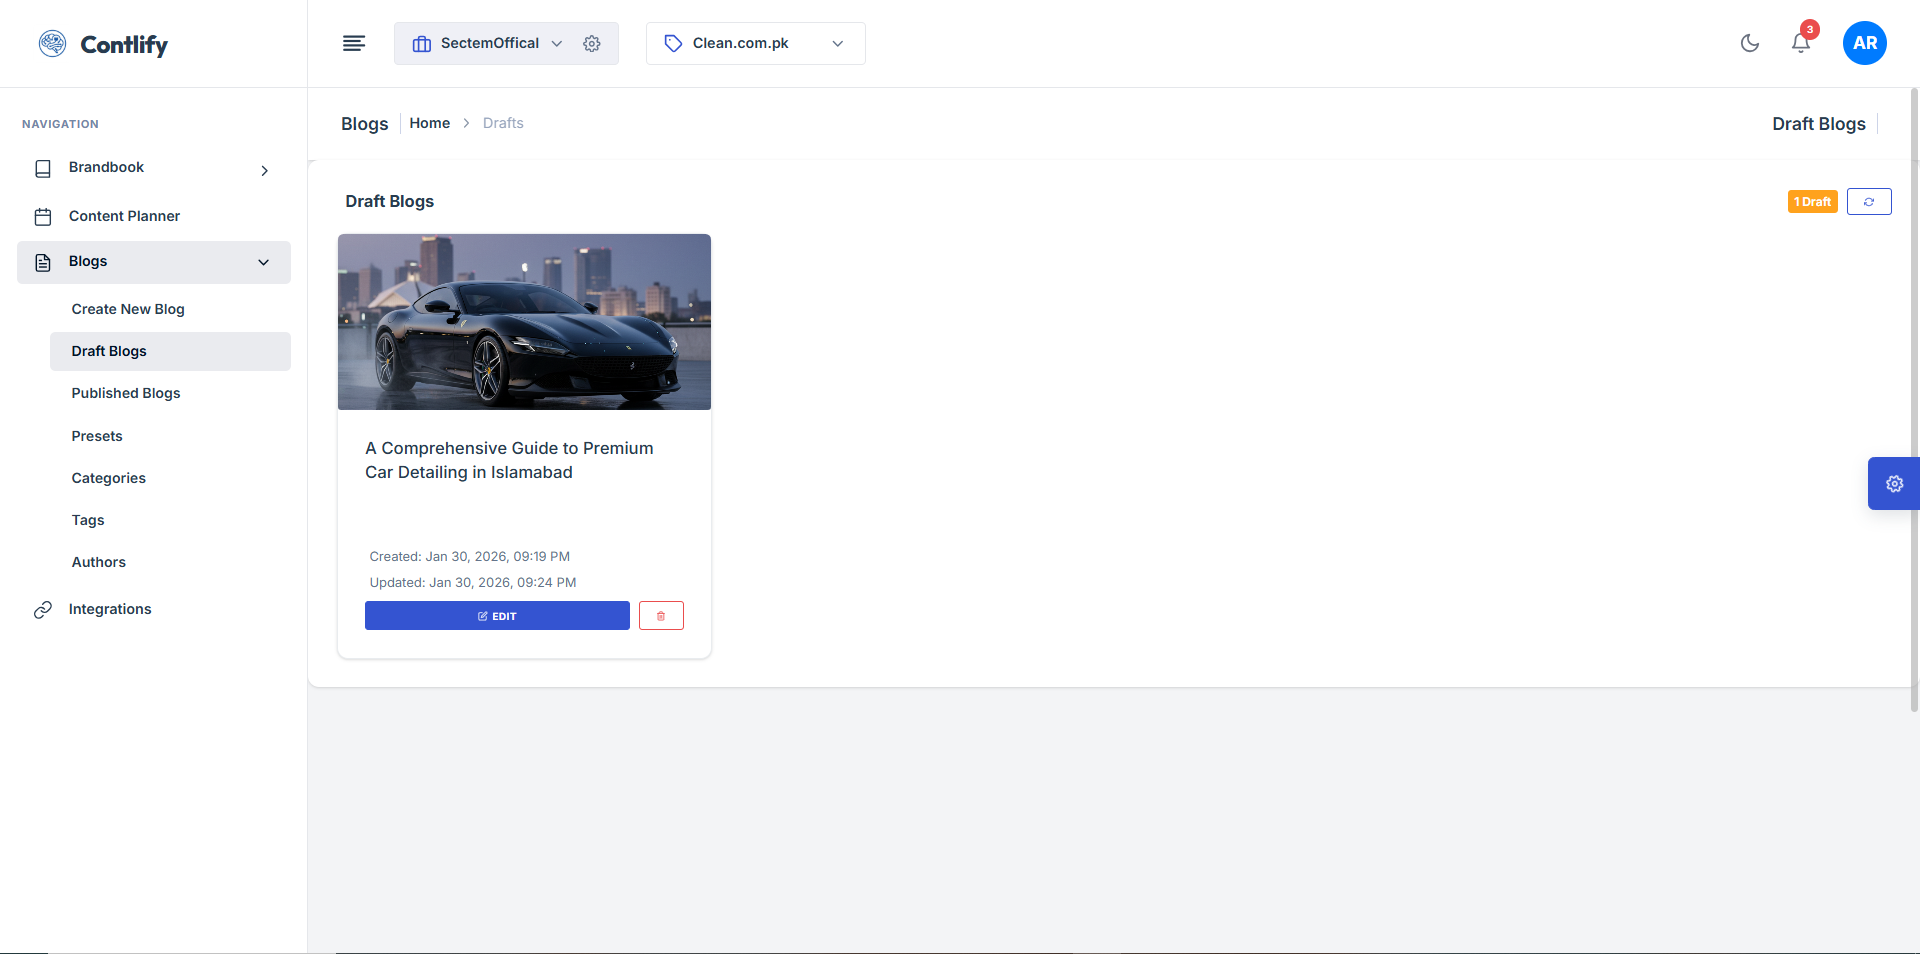
Step 6: Draft blogs
Summary: View and manage draft blog posts before publishing.
Steps:
- Open Draft Blogs.
- Open a draft to edit.
- Use available actions (edit/delete/etc.).
Expected result: Drafts can be reviewed and updated.
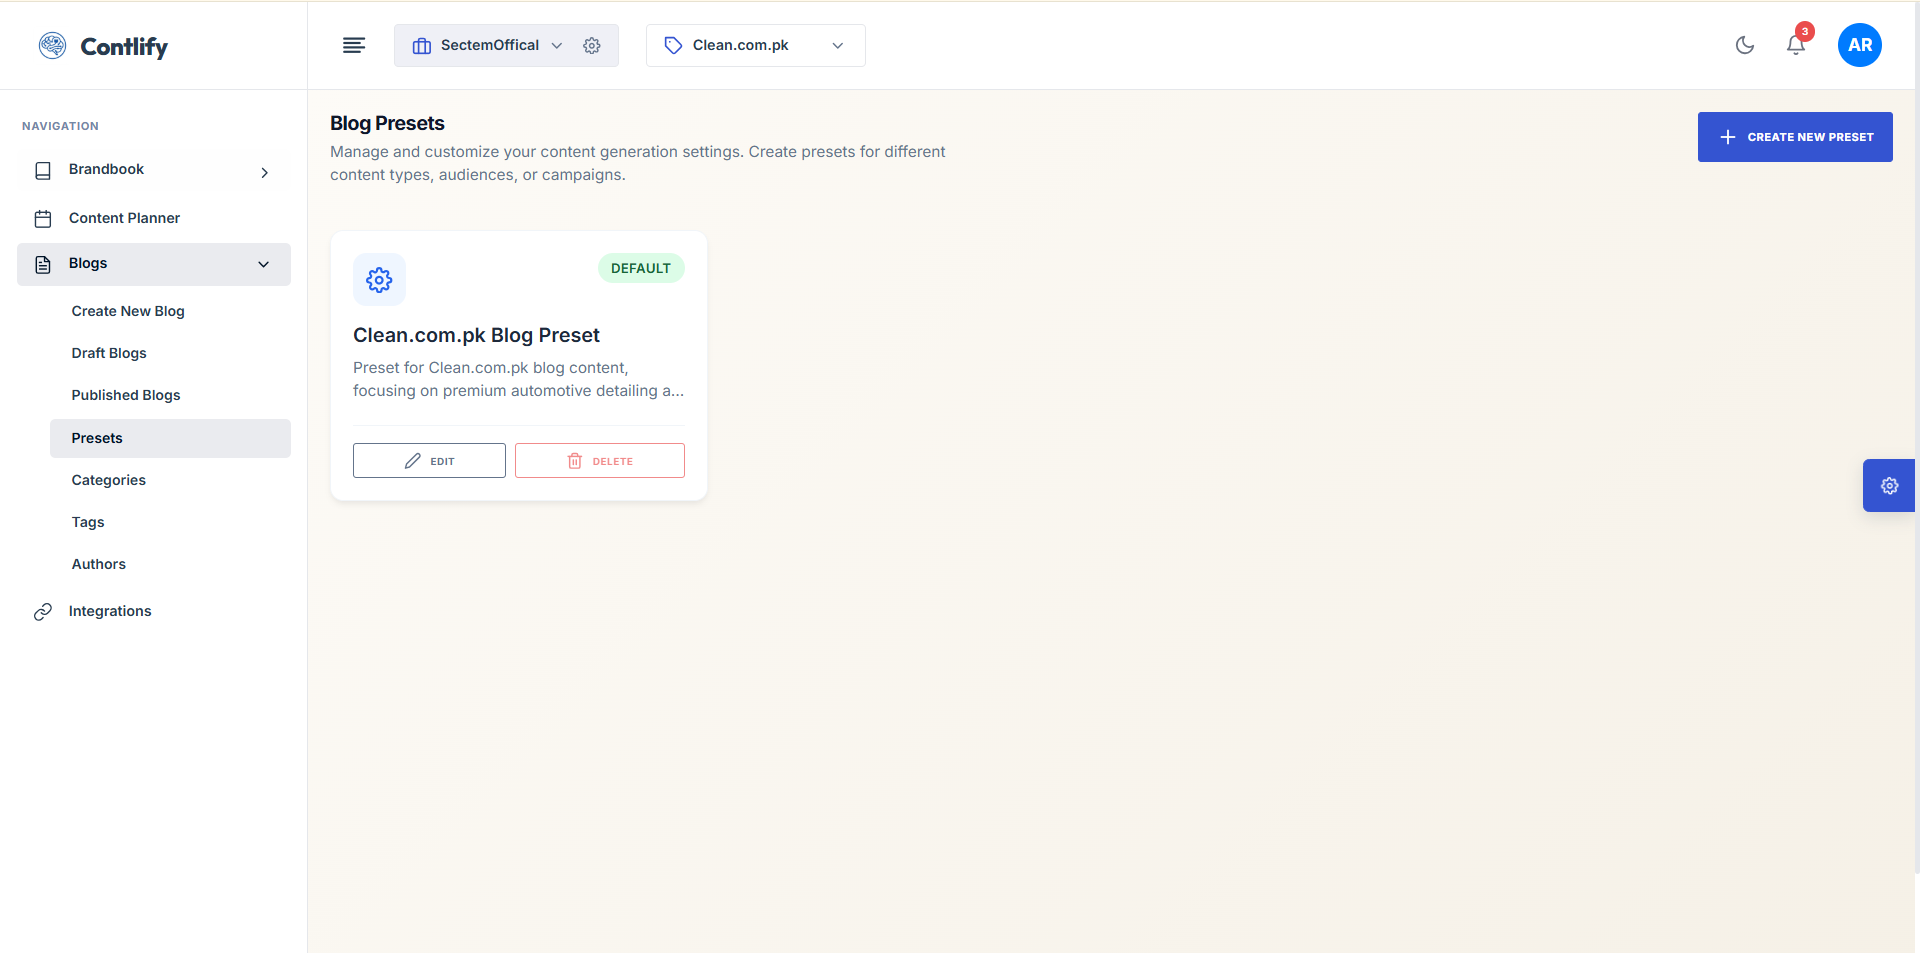
Step 7: Presets
Summary: Create or manage presets to reuse generation settings.
Steps:
- Open Presets.
- Create/select a preset.
- Save and apply preset for future generations.
Expected result: Preset is saved and reusable.
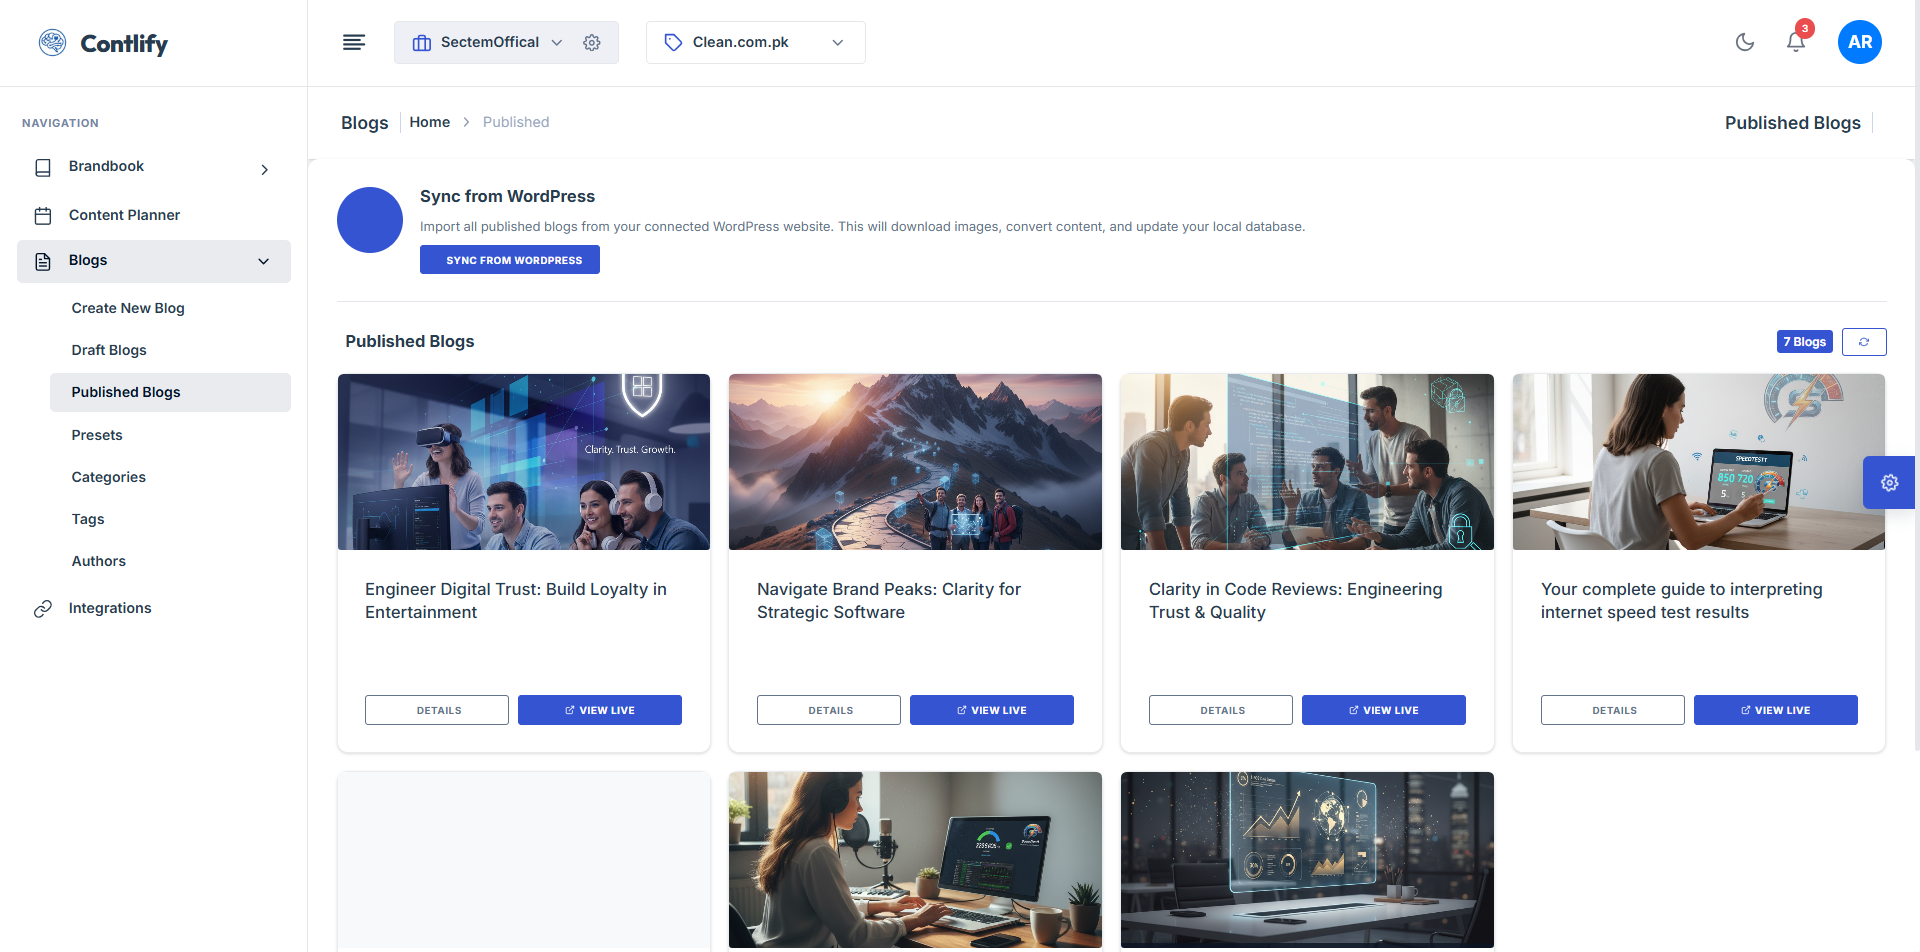
Step 8: Published blogs
Summary: View and manage posts that are already published.
Steps:
- Open Published Blogs.
- Search/filter posts if available.
- Open a post to view details or actions.
Expected result: Published content can be reviewed/managed.
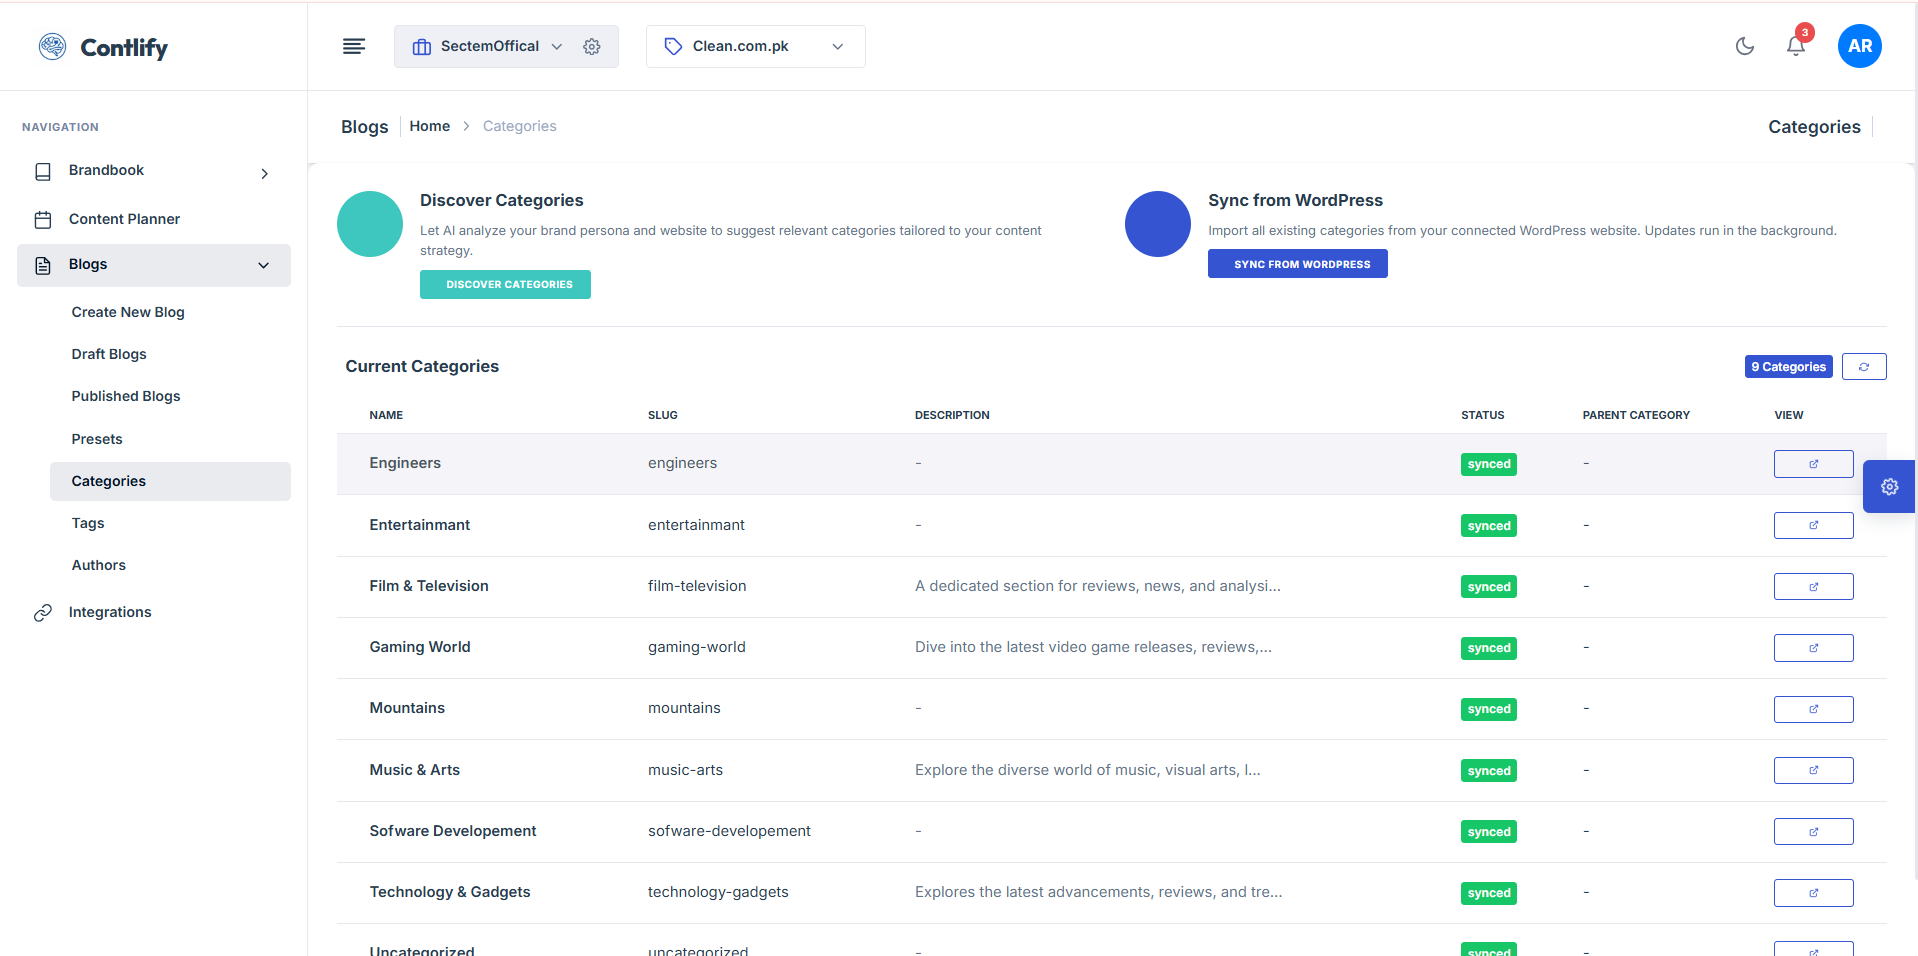
Step 9: Categories
Summary: Create and manage categories to organize posts.
Steps:
- Open Categories.
- Click Add Category.
- Enter details and click Save.
Expected result: Category is added and selectable on posts.
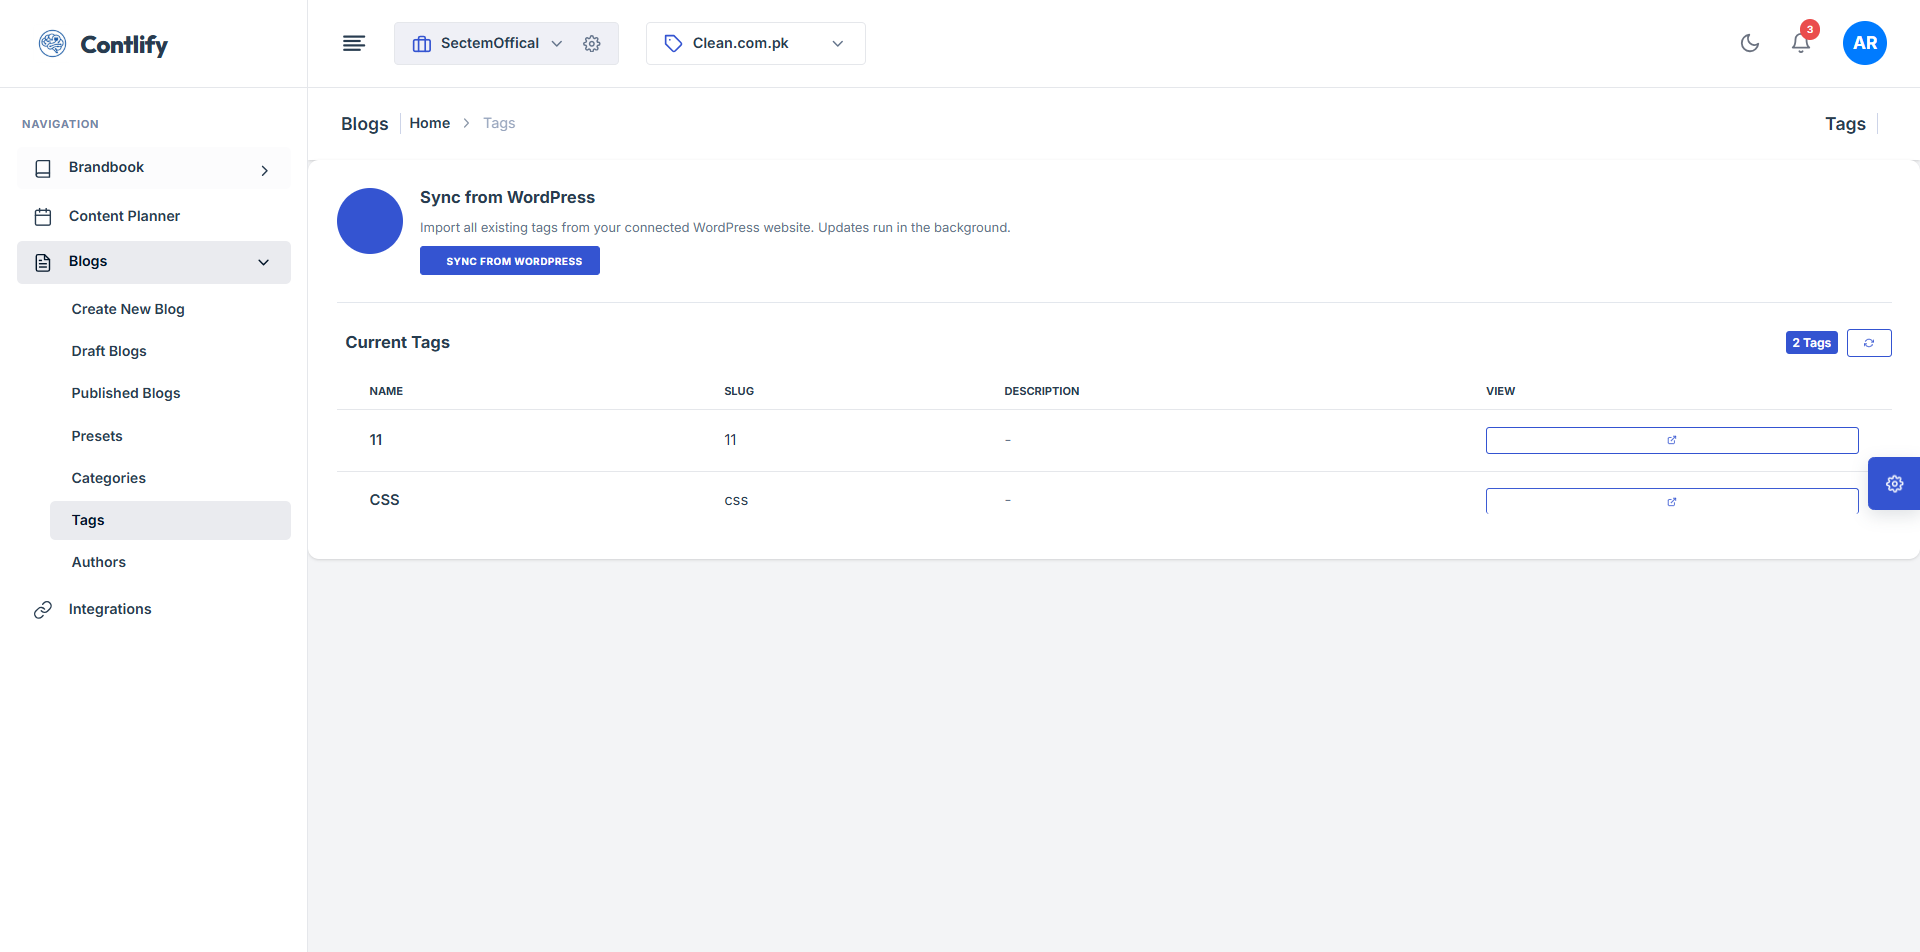
Step 10: Tags
Summary: Create tags for better organization and search.
Steps:
- Open Tags.
- Click Add Tag and enter name.
- Click Save.
Expected result: Tag is created and selectable on posts.
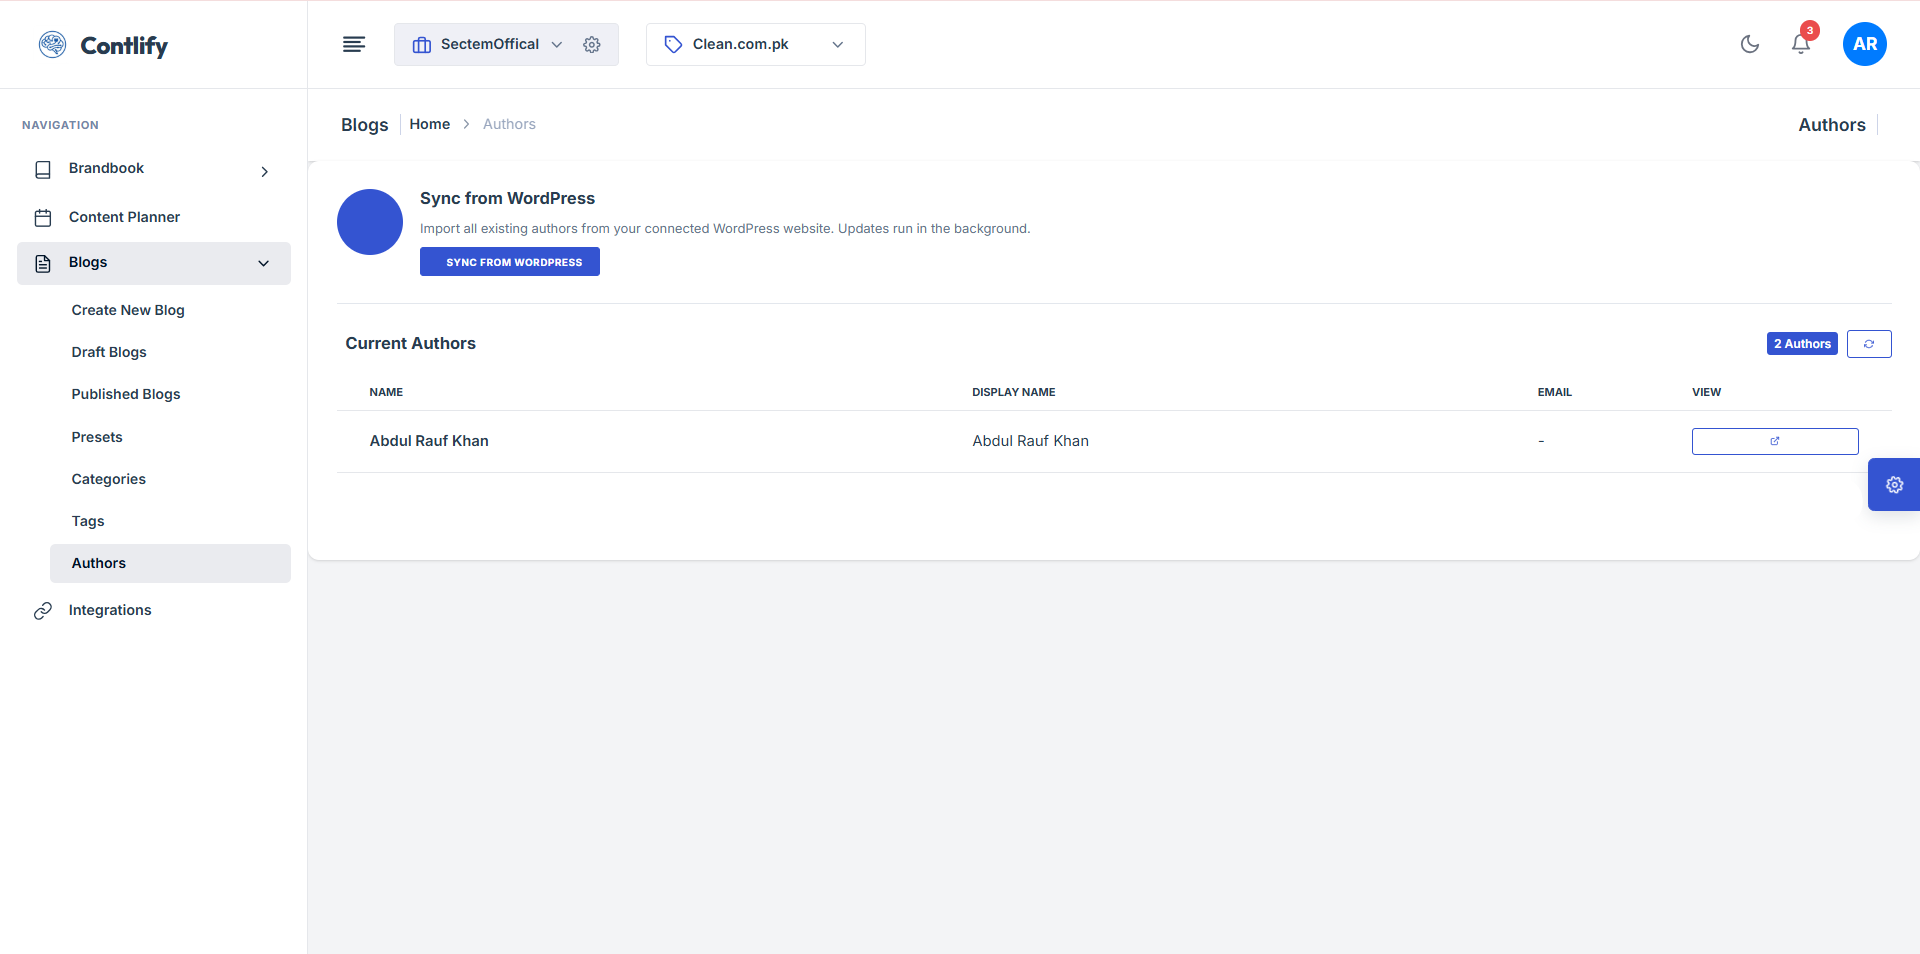
Step 11: Authors
Summary: Manage author profiles used for blog posts.
Steps:
- Open Authors.
- Click Add Author and fill details.
- Click Save.
Expected result: Author profile is saved and selectable.
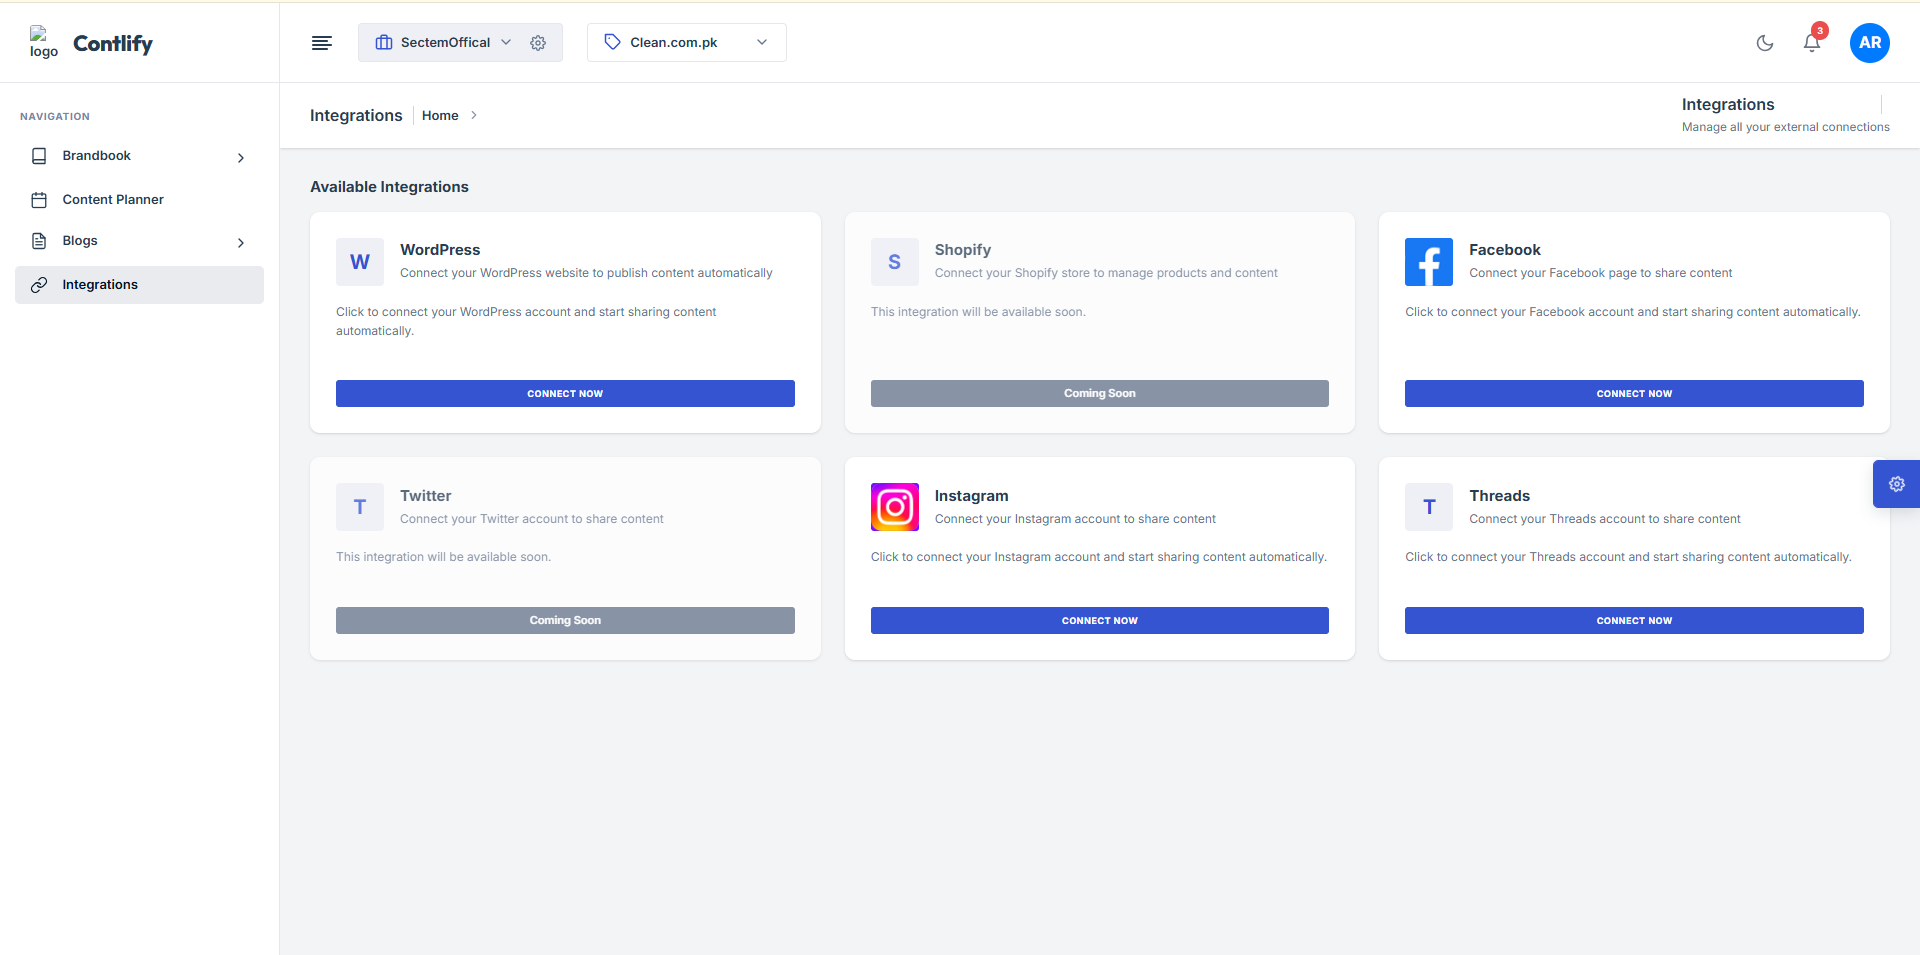
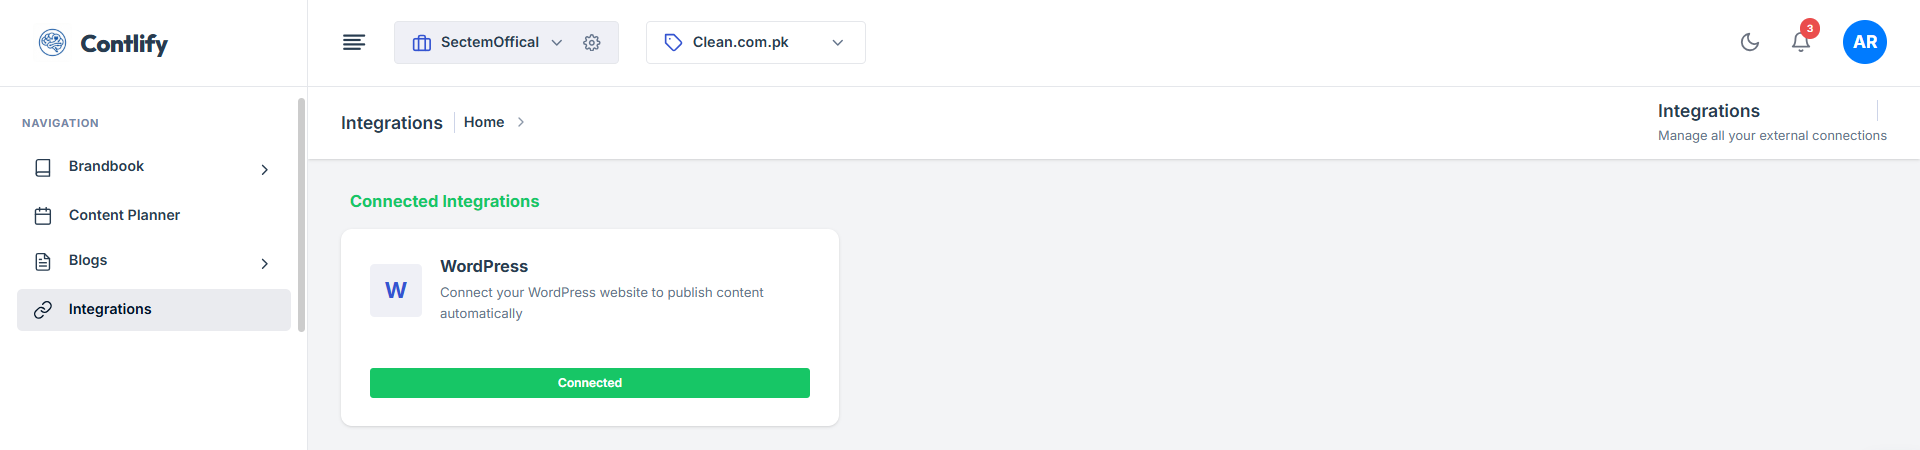
Step 12: Integrations (part 1)
Summary: Connect external services for publishing or syncing.
Steps:
- Open Integrations.
- Select an integration.
- Authorize/connect using required credentials.
- Save the connection.
Expected result: Integration is connected.
Step 13: Integrations (part 2)
Summary: Finalize integration settings and verify configuration.
Steps:
- Review integration settings fields.
- Update required values (site/workspace/token).
- Click Save/Confirm.
Expected result: Integration configuration is completed.
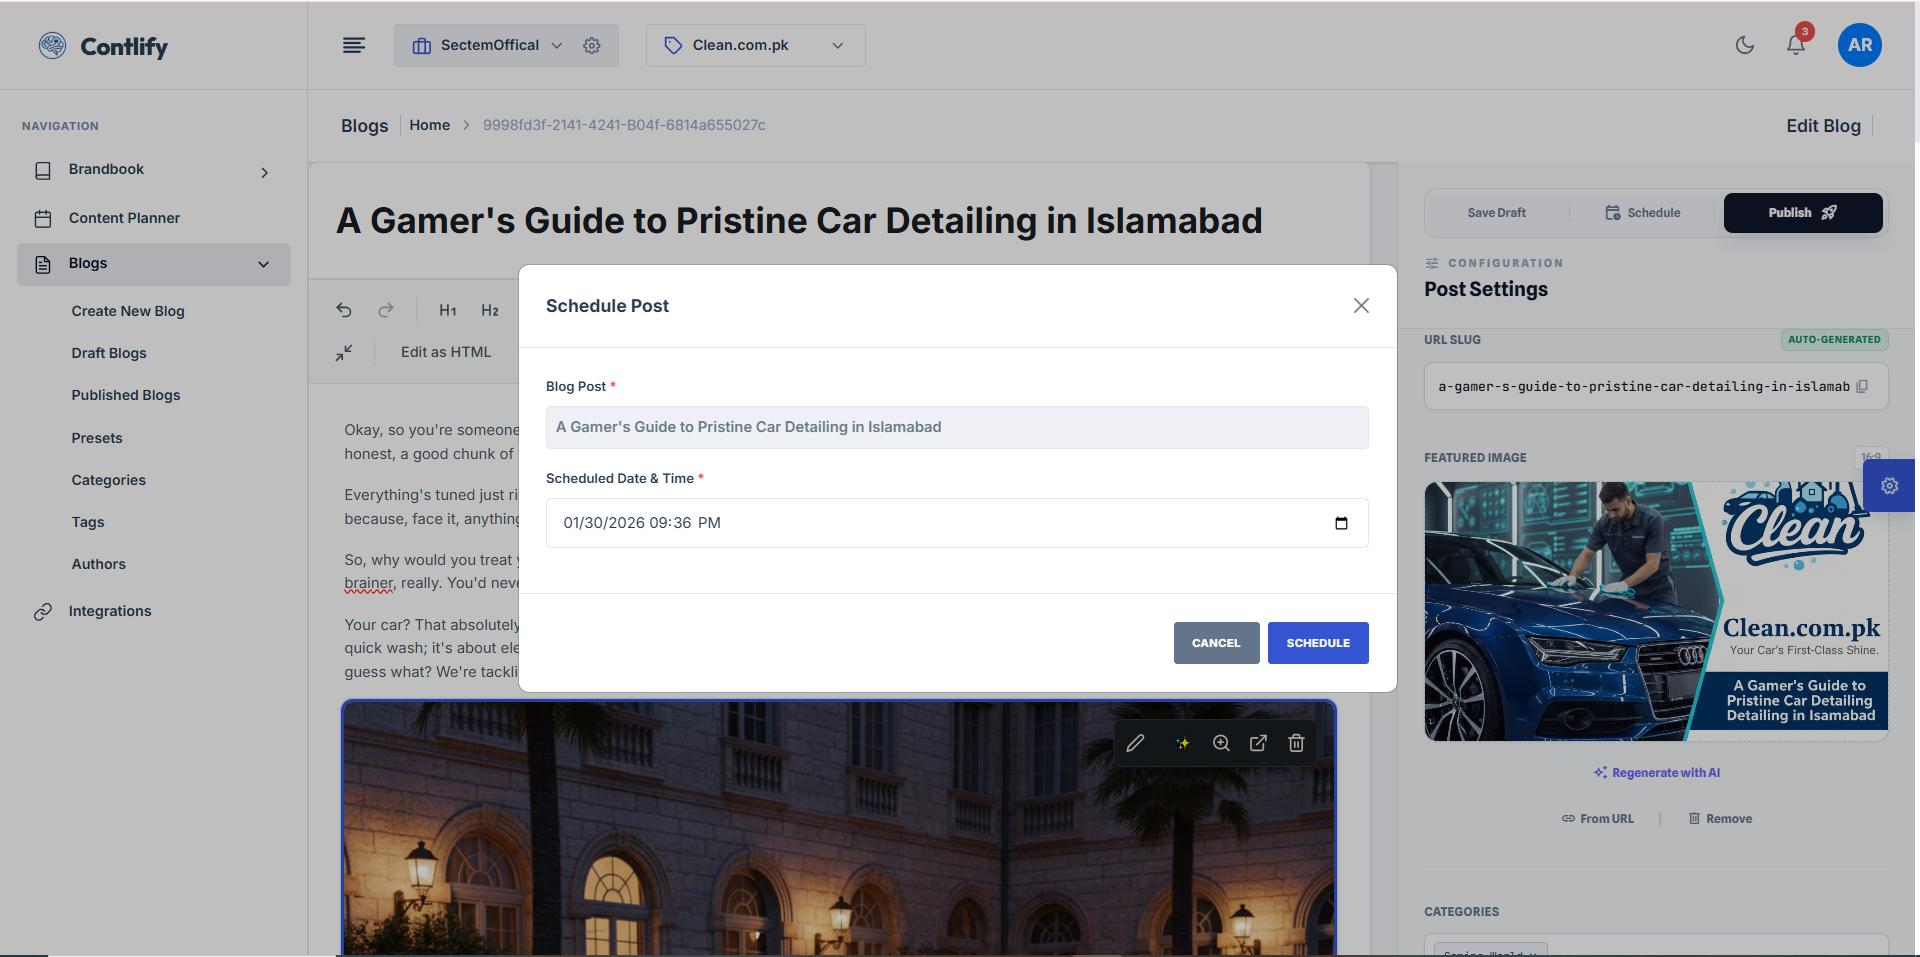
Step 14: Scheduling (part 1)
Summary: Schedule a post to publish automatically at a chosen time.
Steps:
- Open the post.
- Choose Schedule.
- Select date and time.
- Click Schedule to confirm.
Expected result: Post is scheduled for publishing.
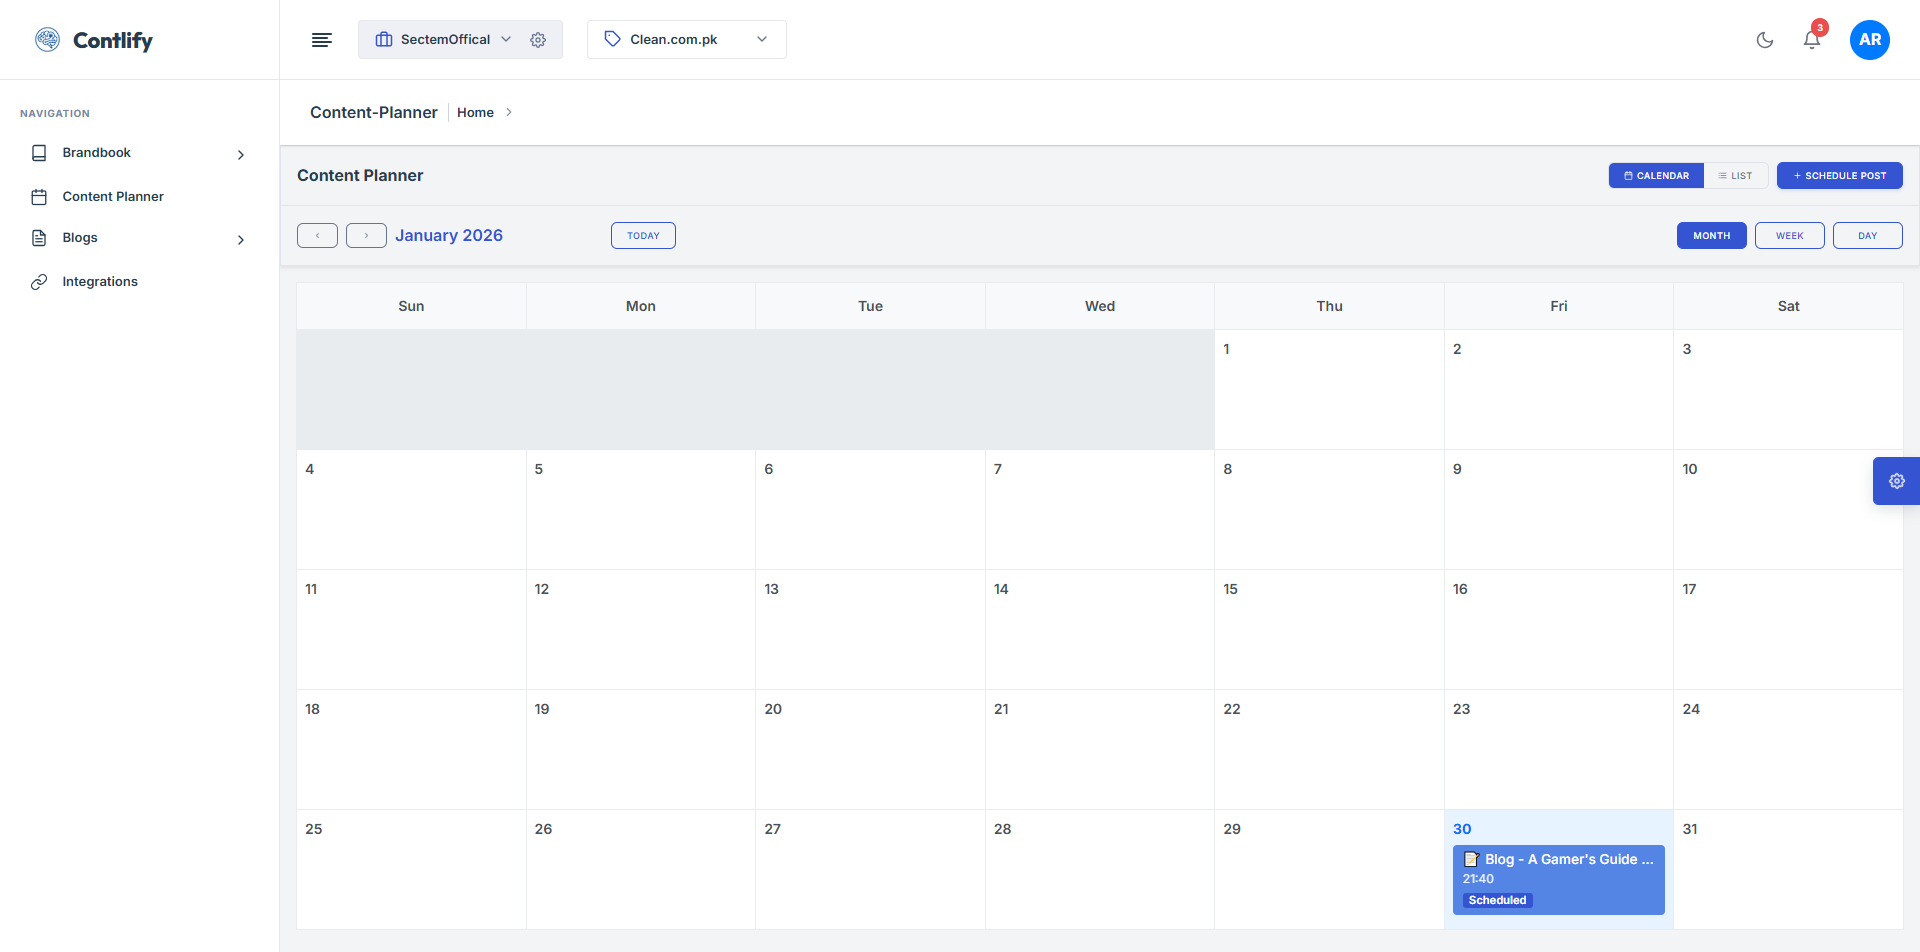
Step 15: Scheduling (part 2)
Summary: Review and manage scheduled posts.
Steps:
- Open scheduled list/view.
- Open a scheduled post.
- Edit schedule or cancel if needed.
Expected result: Scheduled posts are managed successfully.
Step 16: Publish post
Summary: Publish the post and confirm it is live.
Steps:
- Open final review.
- Confirm status shows Published.
Expected result: Post is published and visible to users.
Appendix B: Troubleshooting & FAQ
Troubleshooting
- Issue: Generation does not complete.
- Resolution: Try again with shorter input, then check your internet connection.
- Issue: Cannot schedule/publish.
- Resolution: Ensure required fields are completed (category/tags/author/image) before publishing.
- Issue: Integration connection error.
- Resolution: Re-check credentials/API token and reconnect the integration.
- Issue: Image edits not applied.
- Resolution: Click Save/Apply in the editor, then refresh the post and confirm the image updated.